EclipseによるSpring Boot② Thymeleaf
EclipesによるSpringBootの連載の続きです。
①コントローラ
②Thymeleaf(今回)
今回のテーマはThymeleafです。タイムリーフと読みます。
Strutsやサーブレットのときは、JSPが良く使われていましたが、
Spring Bootでは、Thymeleafを推奨しています。
MVCを意識した作りの場合は、Thymeleafのほうが使いやすいようです。
Thymeleafは表示に特化した処理しかできないようにしているためです。
拡張子は、htmlです。HTMLと同じです。
中身が、Thymeleaf特有のタグを使うことにより、表示が乱れることはありません。
①プロジェクトは前回のものをそのまま使います。
②Thymeleafの追加と実装
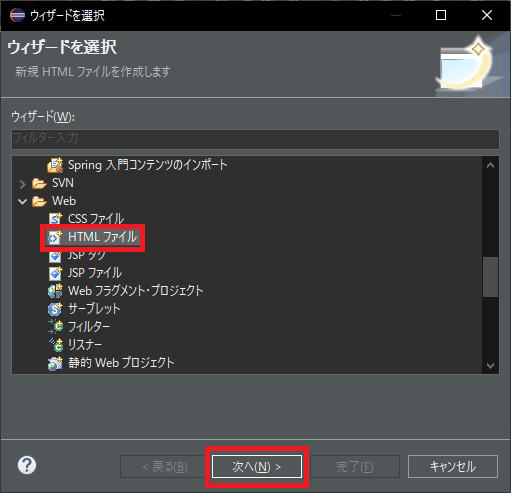
ファイル名は、Hello.htmlにします。
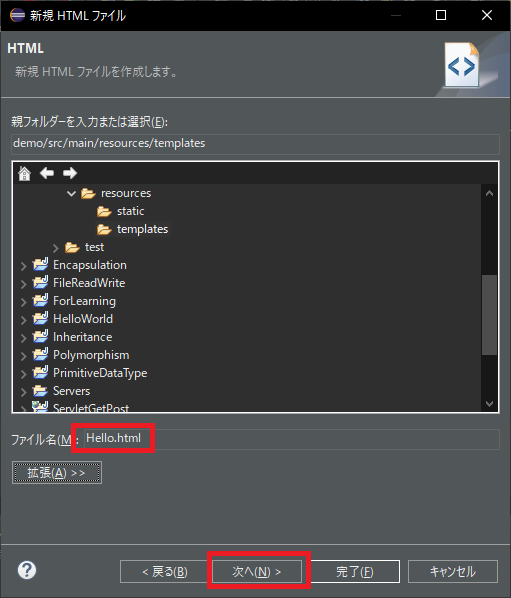

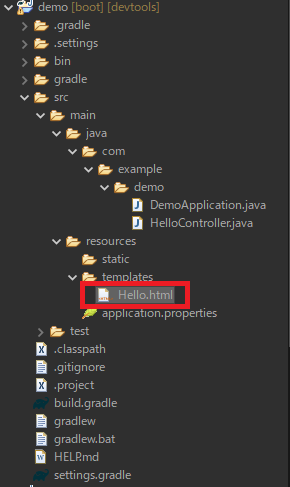
demo/src/main/resources/templatesに
Hello.htmlが追加されていることを確認します。
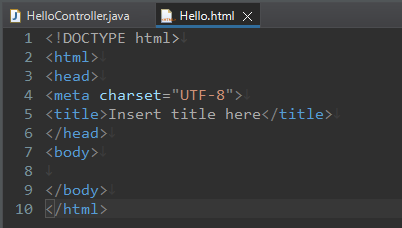
HTMLのひな型ができます。
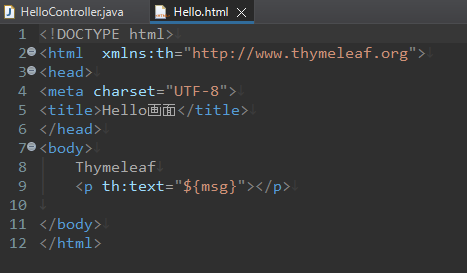
5行目は、ページのタイトルを「Hello画面」にしています。
8行目は、固定文字で、Tymeleafを表示させています。
9行目は、Thymeleaf特有のth:text属性です。そこに、${msg}の変数の値を表示させています。
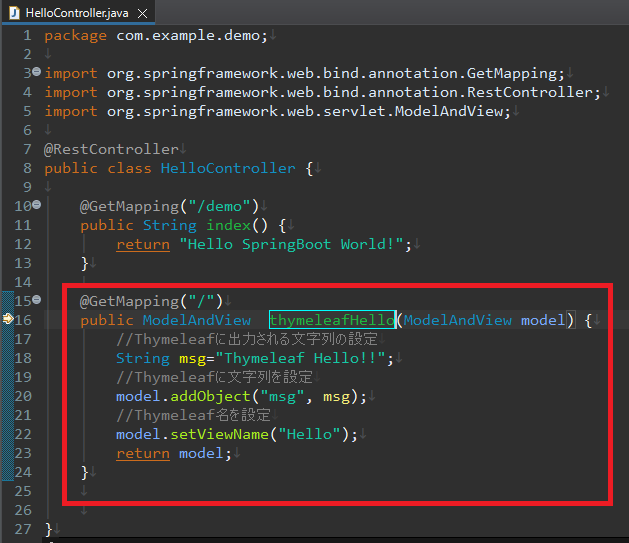
③コントローラのメソッド追加
ThymeleafHellメソッドを追加しています。18行目は、表示させたい文字列を変数msgに設定しています。
20行目は、Thymeleafに渡すための変数modelにmsgを設定しています。
22行目は、Thymeleaf名を先ほど作成したThymeleafのHelloに設定しています。
拡張子はつけません。
23行目で、変数modelをリターンしています。
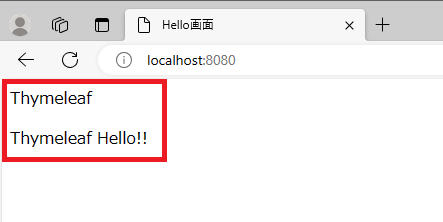
URLに、localhost:8080/と打ちましょう。
以下のように、表示されれば成功です!お疲れ様です。
Follow me!